


projects - xbox - ide cable upgrade
IDE Ribbon Cable Upgrade - Improve your loading times by 25%
by Twistedsymphony
Description:
By upgrading the standard Xbox 40 pin (ATA66) IDE ribbon cable to a more efficent 80 pin (ATA 100) IDE ribbon cable loading times have been proven to be increased by an average of 25% The reason is that more ground lines are introduced into the cable with in turn filters more interfearance and allows for a faster transfer rate.
Tools Needed:
Torx Drivers to take apart Xbox
Parts Needed:
standard 24" Dual Device ATA100 or ATA133 IDE ribbon cable
Step 1:
Dissassemble your Xbox (it's pretty easy). Remove the cover, the hard drive tray, the DVD drive tray, the yellow DVD cable and the IDE cable.
Step 2:
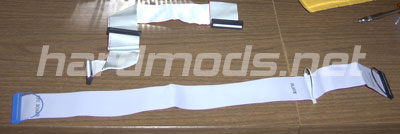
*I used a cable with loops on either end to make it easier for me to take the xbox apart (because I do that a lot) you dont need to use a cable like that.
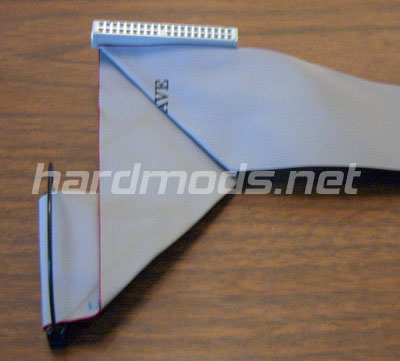
*Also note that there are 3 connectors a blue mainboard connector, a black master connector, and a grey slave connector. we will be using this cable backwards from its normal use.
Start by feeding the cable through the loop on the back of the black (master) connector.
Step 3:
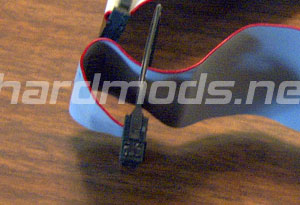
Make a 90 degree fold up about a half inch from the connector
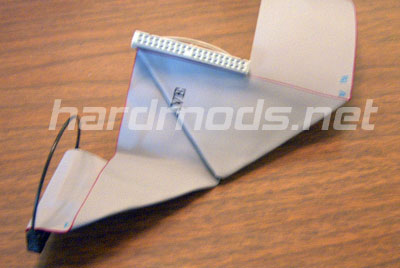
Step 4:
Feed the now folded short end of the cable through the loop on the back of the grey (slave) connector
Step 5:
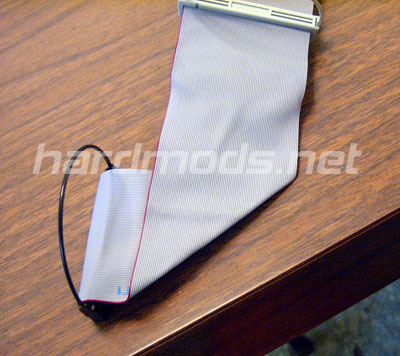
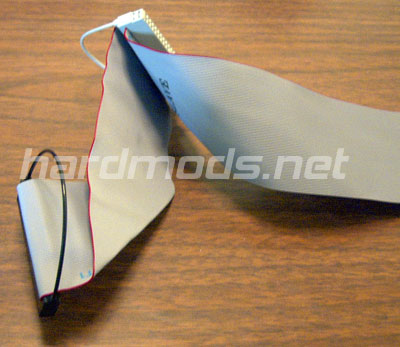
Make a 90 degree fold to the right at the base of the grey (slave) connector.
Step 6:
Make another 90 degree fold up right next to the the last fold.
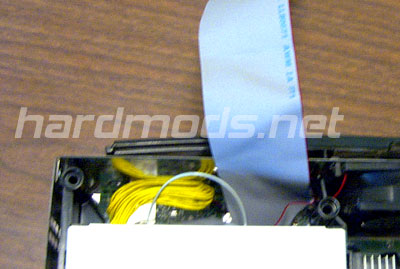
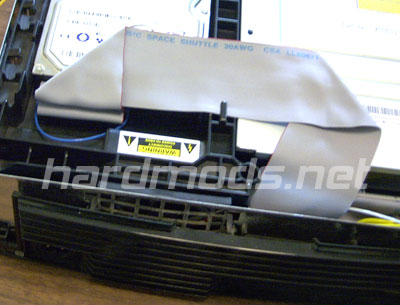
Step 7:
Begin to reassemble your xbox. Put the yellow cable and the first part of your new ribbon cable into the appropriate connectors on the motherboard. Put the DVD drive back in place and make the connectons back in that. Next put the Hard drive back in place but don't make any connections on that yet.
*you'll notice the ribbon cable by the last fold doesn't fit as well as it could or should. this is due to the fact that I am using a samsung drive with the IDE connector further toward the right. Some other drives have the connector further toward the left were this is less of a problem. This isn't really a problem just be weary and ensure the cable does not get pinched.
Step 8:
Make two more 90 degree folds to the right and up across the top of the drives. You have plenty of cable to work with so dont try to take the tightest route. Your first priority should be fitment loose cable path free of pinches. Here you should also tweak the angles of the folds to properly accomidate 3 things, the angle of exit of the cable from the DVD drive, the cable as it passes under the IED cable clip at the edge of the Hard Drive tray and the angle of entry of the cable to the Hard Drive.
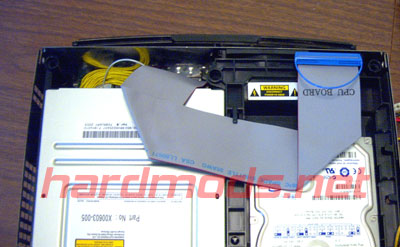
Step 9:
Finally accordian the rest of the cable at about 1/2 inch and plug it into the hard drive. Once this is done plug in the power to the hard drive and finish reassembling the xbox.
Proof:
I have seen tests done to determine a speed increase in loading times. For my test I chose Project Gotham Racing. I choose Quick Race, Hard, New York, then the TVR Tuscan and clocked the loading time. After 10 trials with the factory installed cable I was producing loading times of aproximatly 18.0 seconds (to the nearest 1/2 second) with the miniumu and maximum times beign within 1/2 second of that. In the 10 trials after installing the new cable I was producing loading times of approximatly 13.5 seconds (to the nearest 1/2 second). The min and max times for this set of trials was also within 1/2 second of the average. These results confirm an aproximate 25% speed increase as stated in tests done by others.

© 2004 Michael J Pica